- This solution allows you to fully integrate your 3rd party Lighting into your Crestron home system.
- Local One way control of up to 8 Scenes.
- Select Scenes in the client UI
- Mode Lighting using NPU.
- Configuration options for fade time
- Dali and Mains dim and switched Circuits supported.
- Site wide license allows you to integrate the whole home.
- Suggested to use alongside our lighting scheduler !
- Works with Crestron Home devices that support Actions & Events
-
 Mode Area Controller£150.00
User Interface
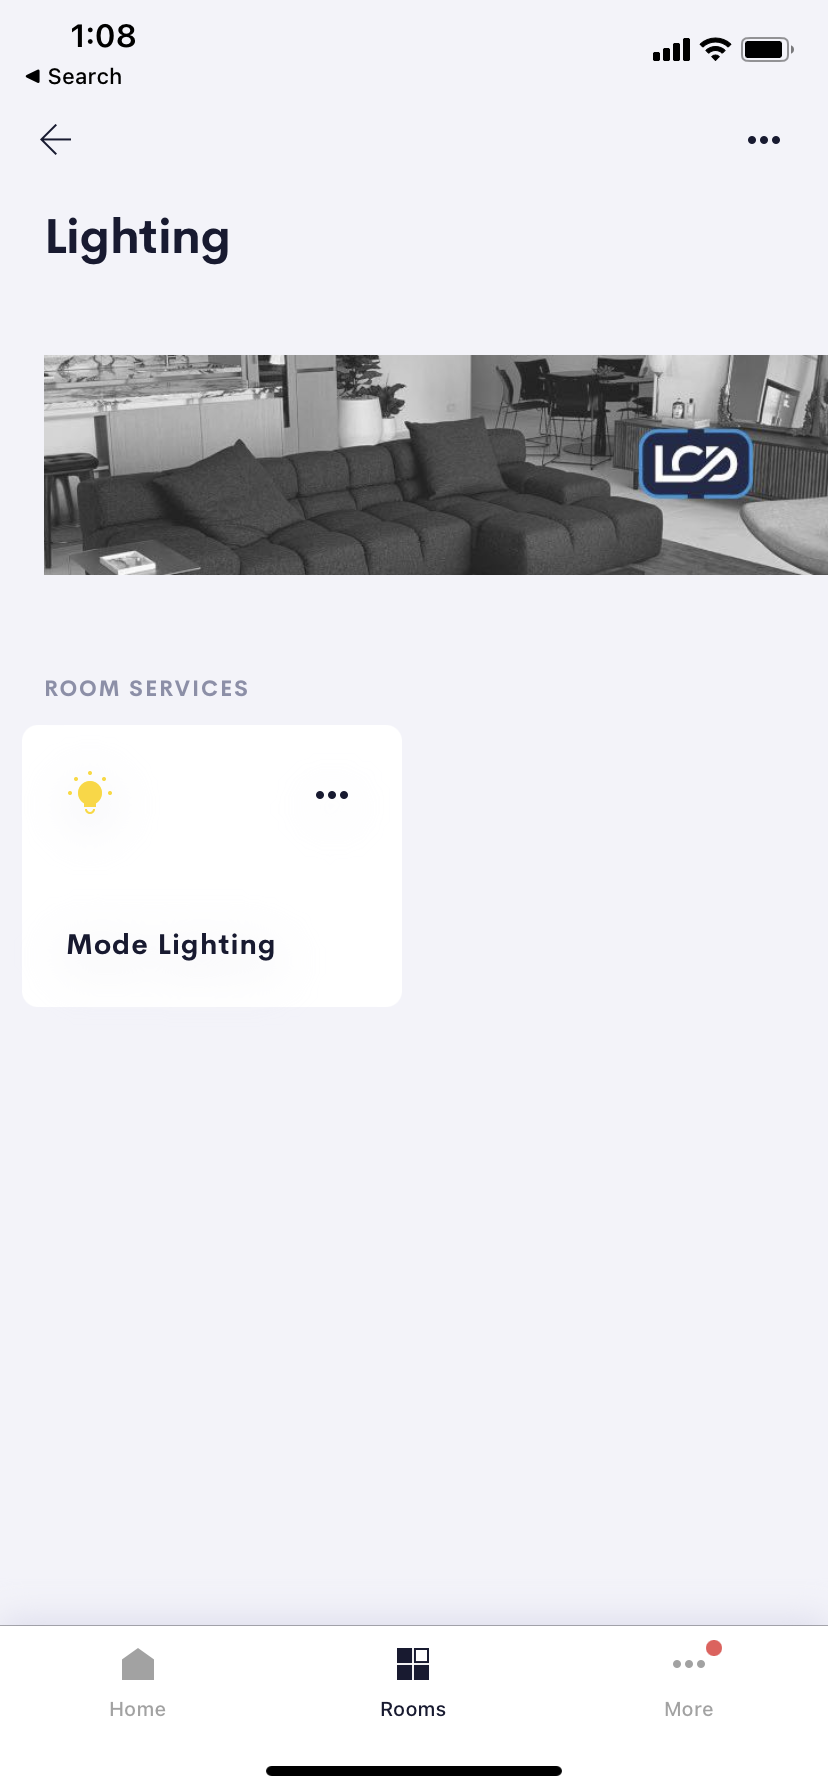
Control 3rd party lighting with a common simple interface, One controller per room allowing scene control.
The Lighting tile shows a simple Light icon and provides access to the drivers main control page.
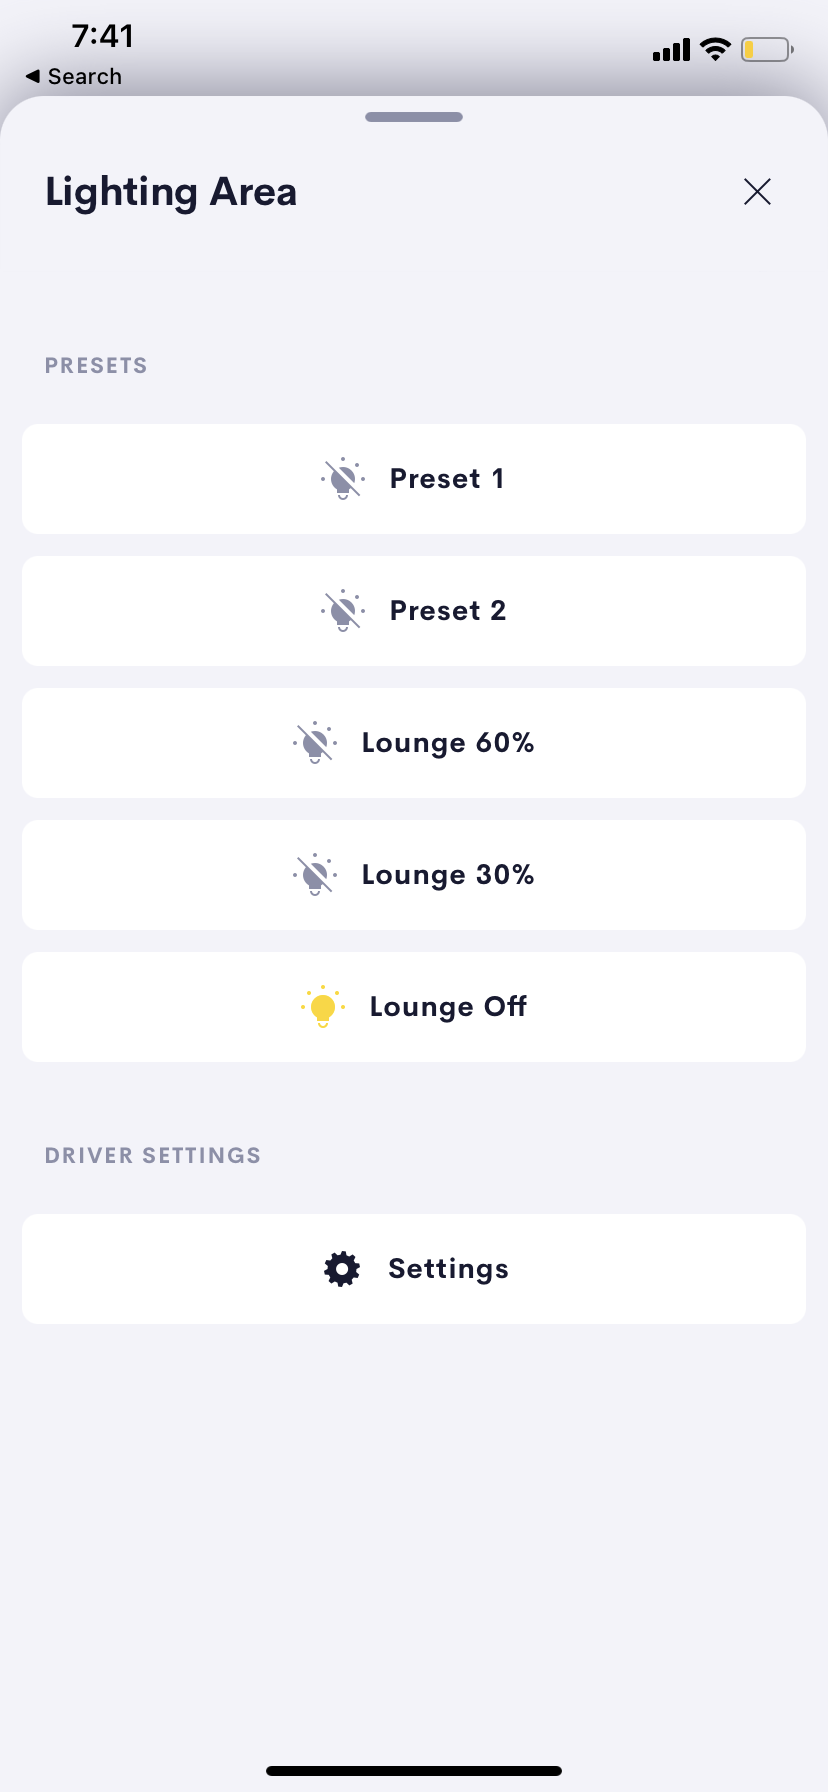
The main page allows you to control your lighting using up to eight preset Buttons.
The labels of these scenes can be setup in the settings page of the driver by your installer.
First Installation
On first use the user interface will display a shortcut button taking you to the settings page.
From here the first thing to do is to setup your device entering the ip address and connection information for the device.
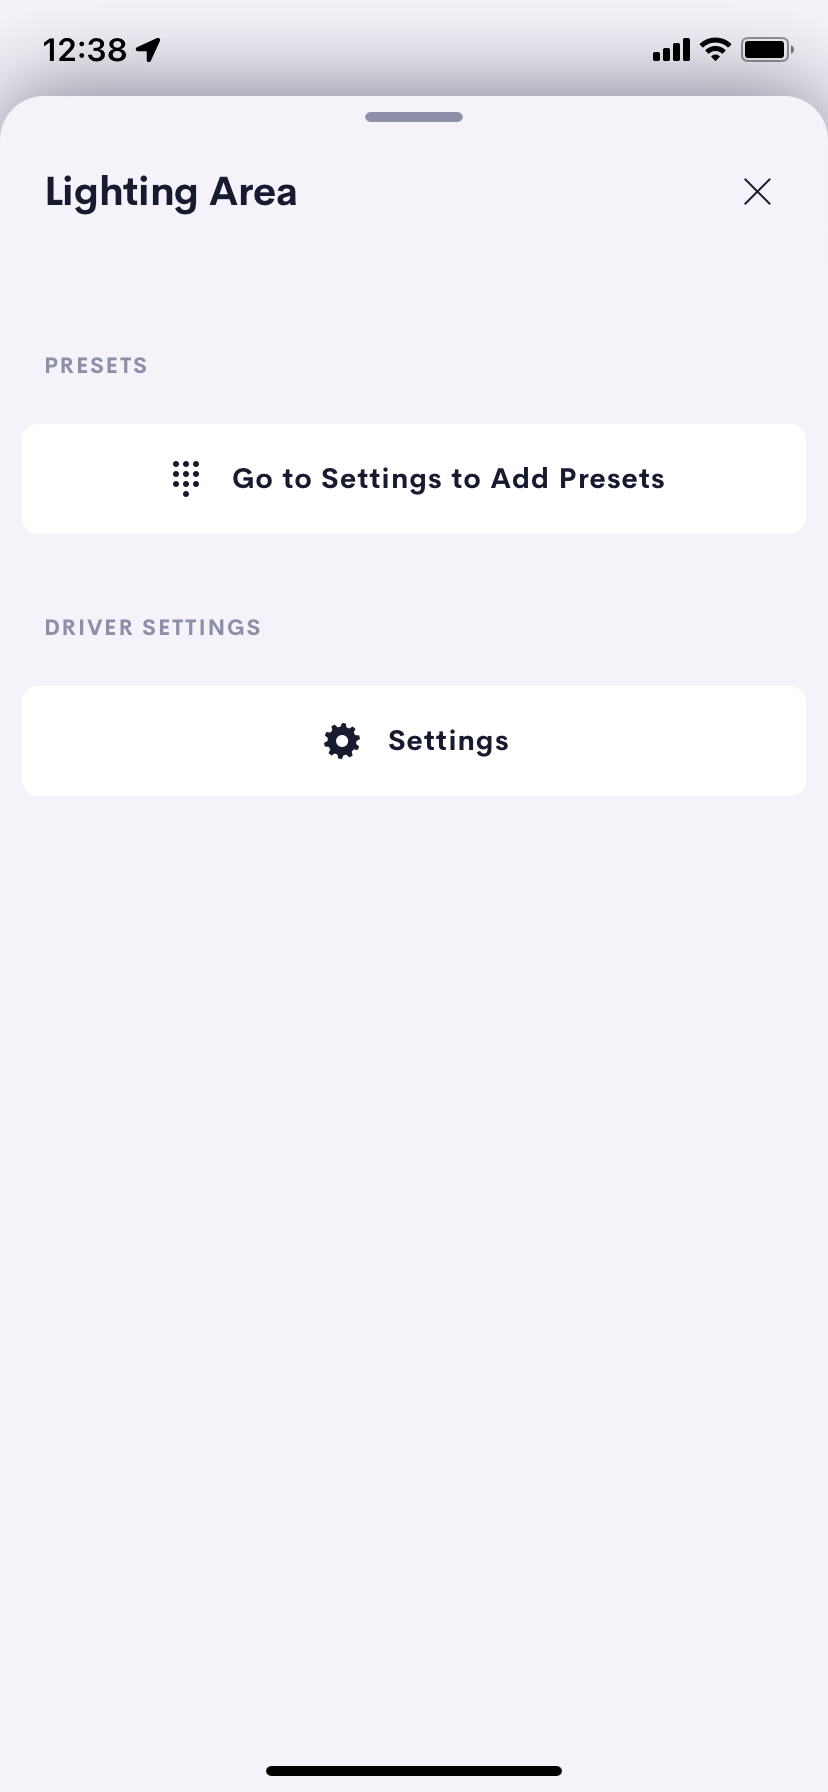
Setting Up Mode Scenes
Once the device connection has been verified you can select the area you wish to focus on.
The Scene information is gathered from the mode lighting system and the list of available scenes show for each preset is filtered based on the selected area.
If no Area is selected then all scenes will be shown on the Change Scene page.
NB: If your scene or area information changes then to refresh the information simply go to Device Connection and re-test the connection without changing any information. This rec-connect will updated the area and scene name information.
A fade time in seconds can be set as a global setting affecting all presets.


Per preset that you wish to use you need to:
Select a Scene – Change Scene from a list of Scenes.
Show the Preset – this shows the preset on the user main page.
Either
Set a Custom Scene name
Use the Mode Scene Name
Mode Hardware Setup
Our integration with mode lighting uses both Http and TCP communications to allow us to control and gather feedback from a Mode lighting Network Processor Unit NPU. In this way we support the full range of Mode lighting controllers and load types.
Currently we require a minimum firmware / software version of 2.4.1.44. To get the latest firmware visit mode lighting’s website
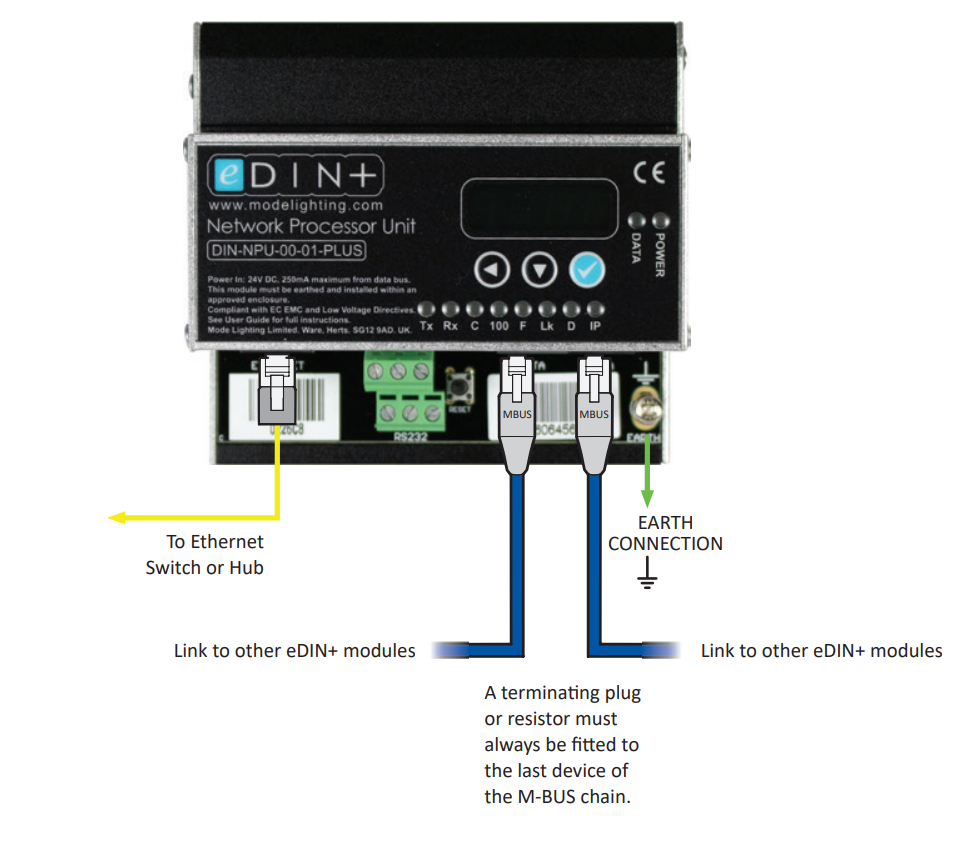
Best Practice
Setup a Static IP Address
Find the IP Address using the display on the fron of the NPU
Actions and Events
This driver supports actions and events allowing you to connect up to other drivers and system controls to provide a more integrated system for your users.
Actions
| Action | Description | Parameter | Value | Value |
|---|---|---|---|---|
| Preset Recall | Triggers the Button Passthru Off State event or Button Passthru On State event depending on the buttons state | Button | 1-8 | Attempts to recall the Preset on the lighting system. If this suceeds and a confirm is recieved the button feedback on the user interface is set and the preset event Set by action will fire. |
Events
| Event | Description | Notes |
|---|---|---|
| Preset | This event fires when preset X button is pressed.* | x is the index of the preset from 1 - 8 |
| Preset | This event fires when the preset is set by the Preset Recall Action * | Events only fire if the Lighting System Responds with an success response. |
| Preset | This event fires (once) when the preset is set by the Preset Recall Action or by its button press.* | *This fires even if the preset was already selected. |
| Room Tile Pressed | This event fires whenever the room tile is pressed on the user interface | |
| Any Preset Button Pressed | This event fires when any preset button is pressed |