Schedule Heating Events In Crestron Home
Crestron Home owners can now modify there own schedules!
Each heating scheduler driver includes 4 user editable schedules for up to 10 dealer defined events
Usage
Once the quick setup is completed, users can modify schedules, override schedules and view the event history all with just a few clicks!
All of our Scheduler products have the same base functionality which is described below.
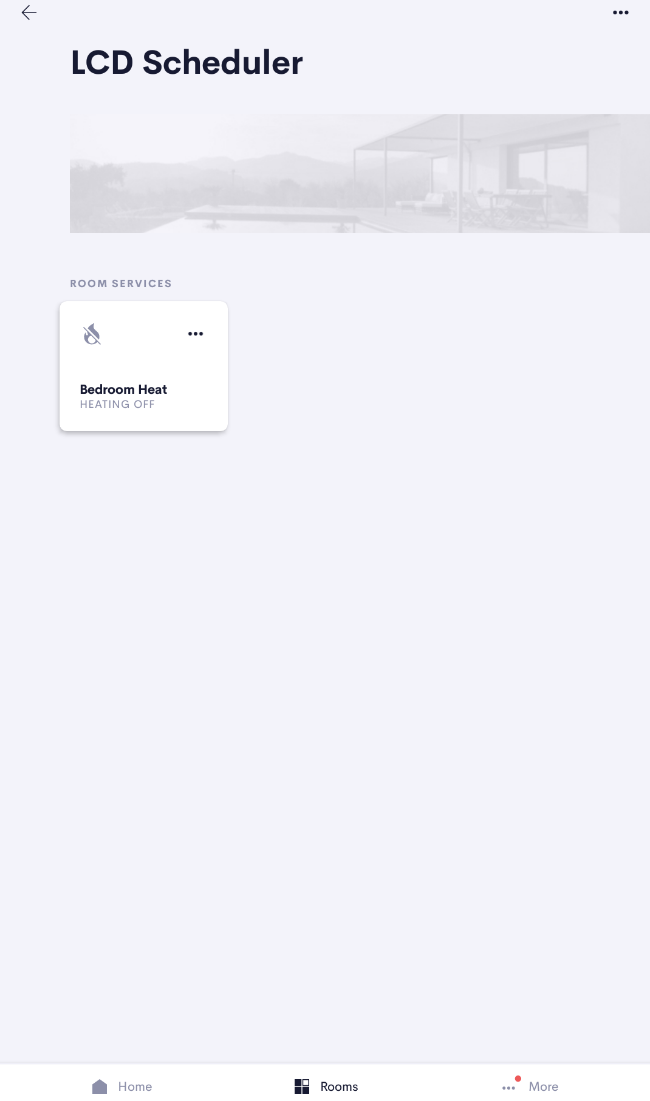
From the room page or home page of any Crestron Home User Interface the user can see the latest event status of the scheduler.
Click the navigation button to access more schedule functions.
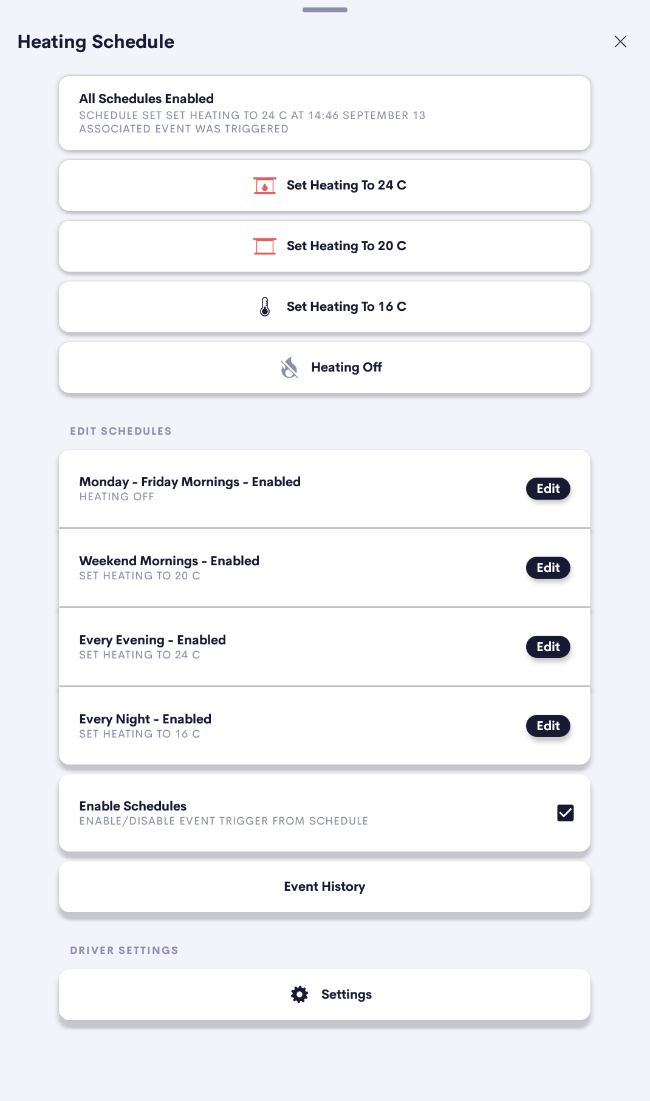
The user is presented with manual override buttons as well as the current schedule information.
Simply click any of the override buttons to action that event immediately.
To edit any of the schedules simply press the Edit button associated with the schedule.
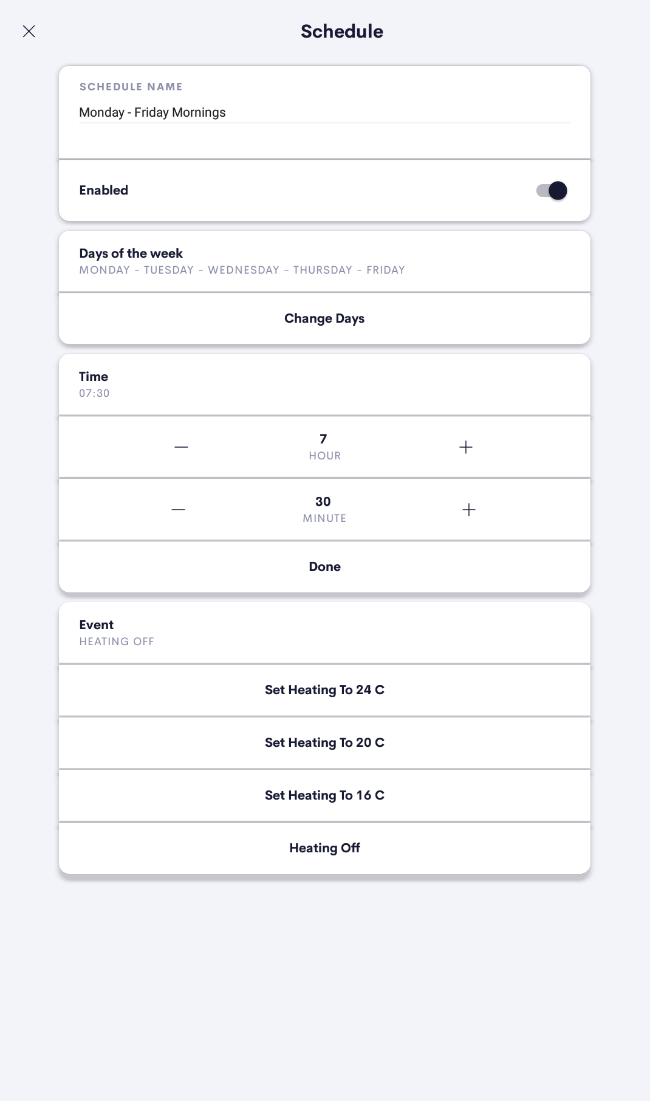
For each schedule you can:
- Change the schedule name
- Enable or disable the schedule
- Change which days the schedule should run
- Change the time the schedule should run
- Change the event the schedule should run
System Setup
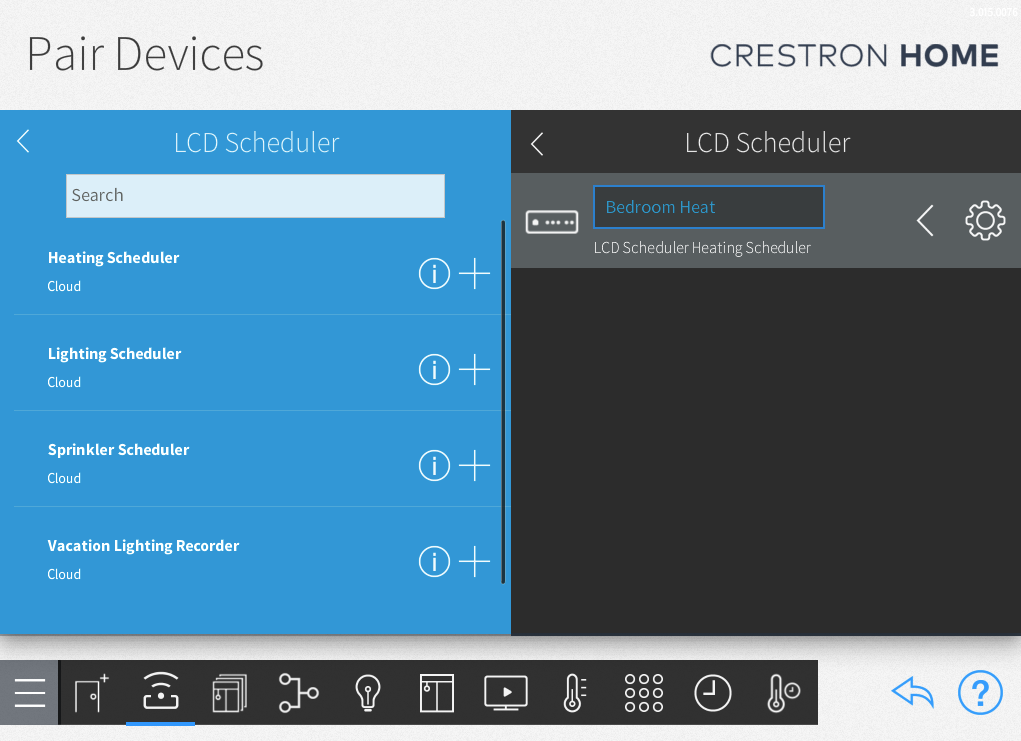
Add the Heating Scheduler
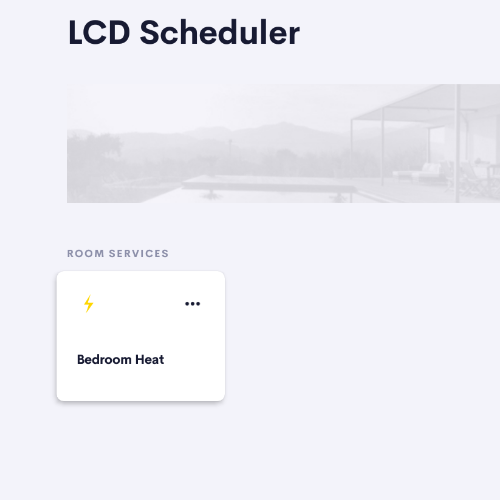
You can find driver in the Drivers section of the Crestron Home Setup App under:
Drivers -> Scheduler -> LCD Scheduler
Add the scheduler to your desired room
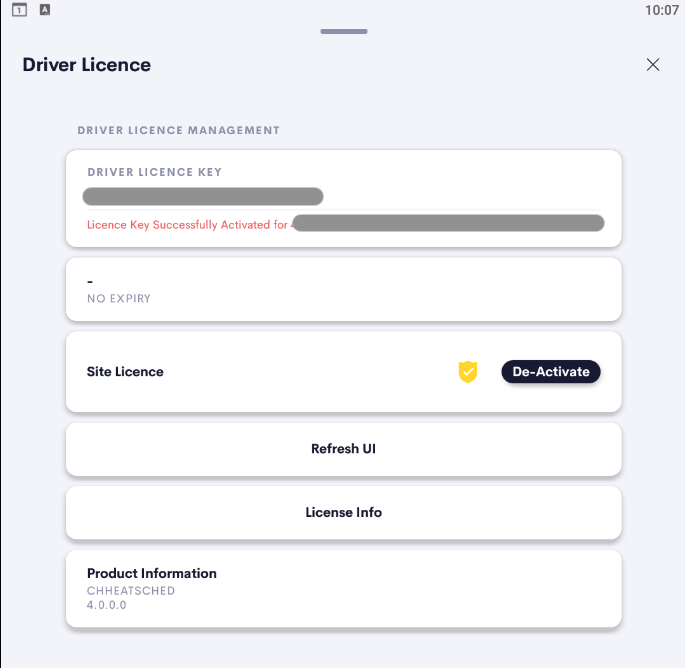
Enter the License Key
The Heating Scheduler license is a single licence, you can find more information regarding our licence types here at our Licensing Info Page
After you install the driver, you can add your licence details in any of the following places:
- The driver installation settings of the Crestron Home Setup App
- The installed driver page of the LCD Web App More Info Here
- The drivers license settings on any Crestron Home User Interface
Access the driver settings
You can find the heating scheduler settings in the Crestron Home User Interface
Navigate to the room where you installed the driver
Click on the driver navigation button
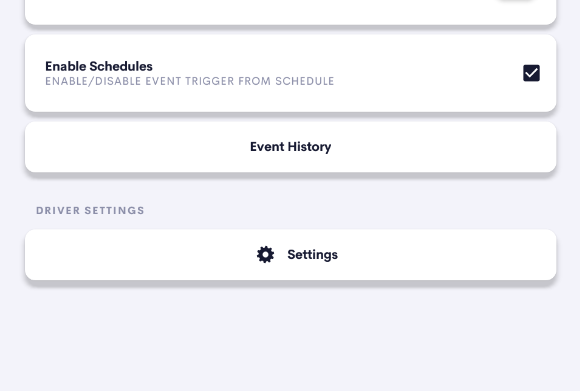
Click on the Driver Settings button at the bottom of the page
Driver Settings
Heating Scheduler Customisable Events
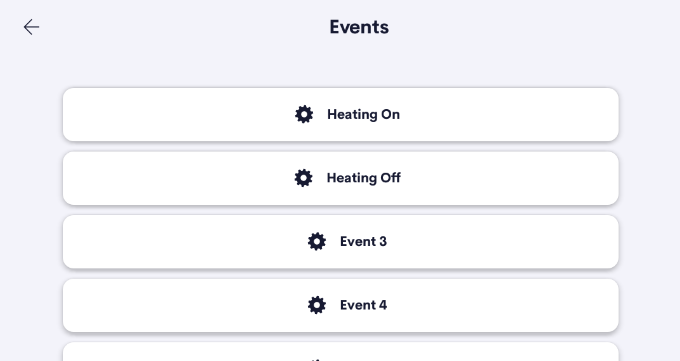
The Heating Scheduler has up to 10 customisable events that can be triggered by any of the schedules or by using the manual override buttons.
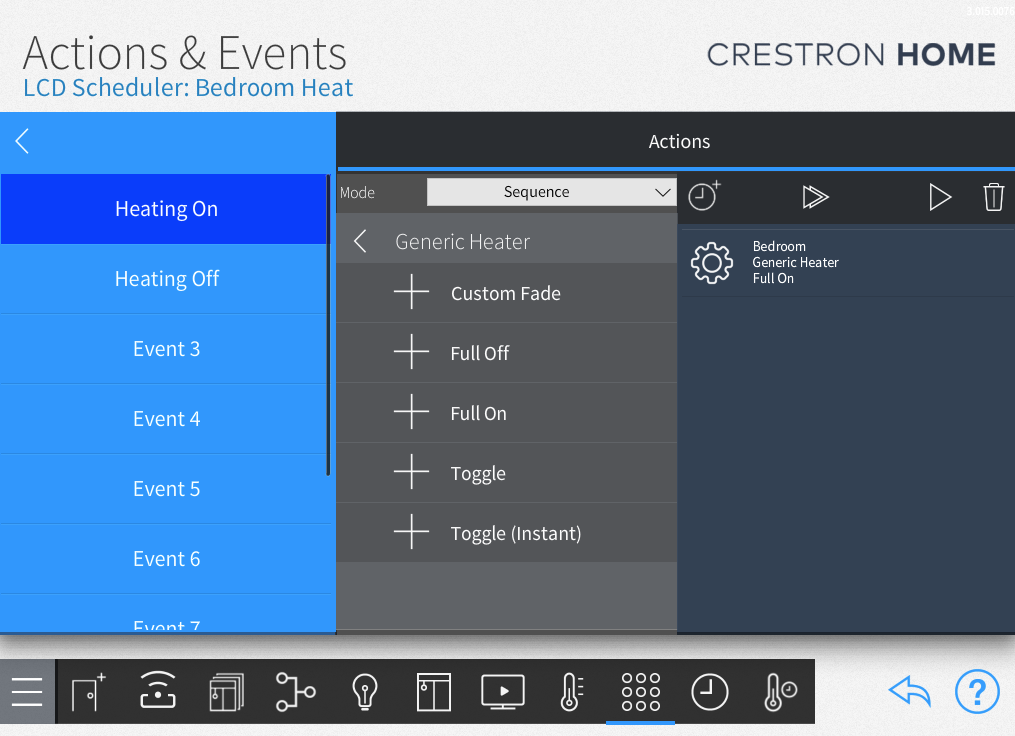
Each of the customised events that you setup will also need to be pre-programmed in the Actions and Event section of the Crestron Home setup app.
An example of some typical events you might set up for the end user would be:
- Simple on/off controls like “Heating On” and “Heating Off”
- Direct temperature controls like “Set Heating to 22 C”, “Set Heating to 23 C” …
- Device specific controls like “Quick Heat” or “Heating Setback”
The events you choose to setup will mostly depend on the device you are controlling and its actions available in Actions and Events.
Customising the Heating Scheduler Events
You customise the heating scheduler events in the drivers settings page on any Crestron Home UI
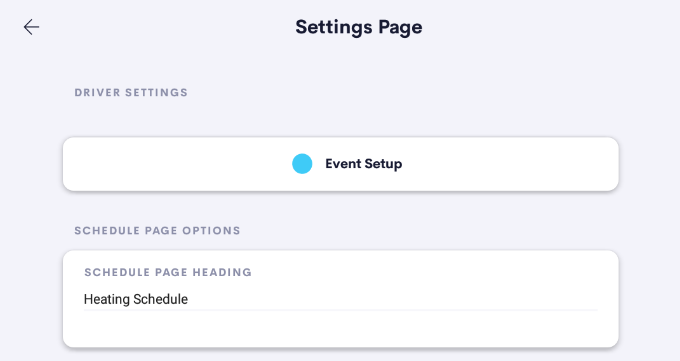
once you are on the driver settings page, press the “Event Setup” button at the top of the page and then select which event you would like to customise
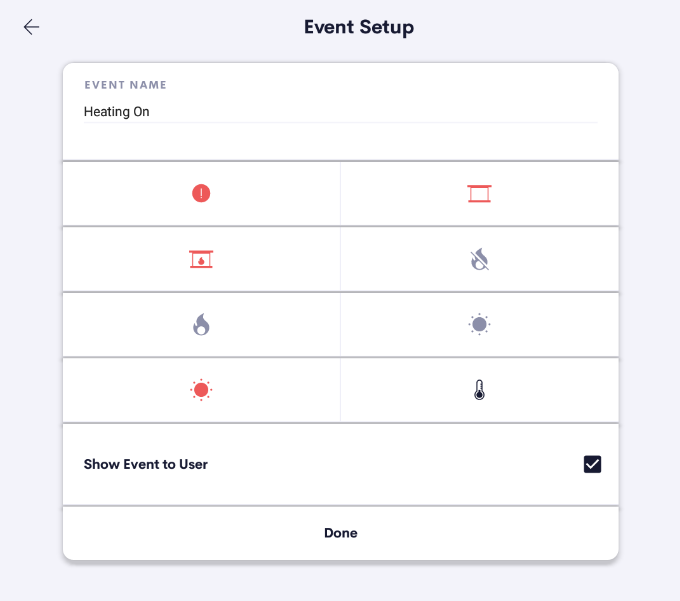
Customisable options for each event include:
- The event name which will be displayed:
- to the dealer in actions and events
- to the end user on the main schedule pages
- to the end user on the UI tile after the event is triggered
- The event icon which will be displayed:
- to the end user on the main schedule pages
- to the end user on the UI tile after the event is triggered
- The option to show or hide this event on the main schedule pages
Additional Schedule Settings
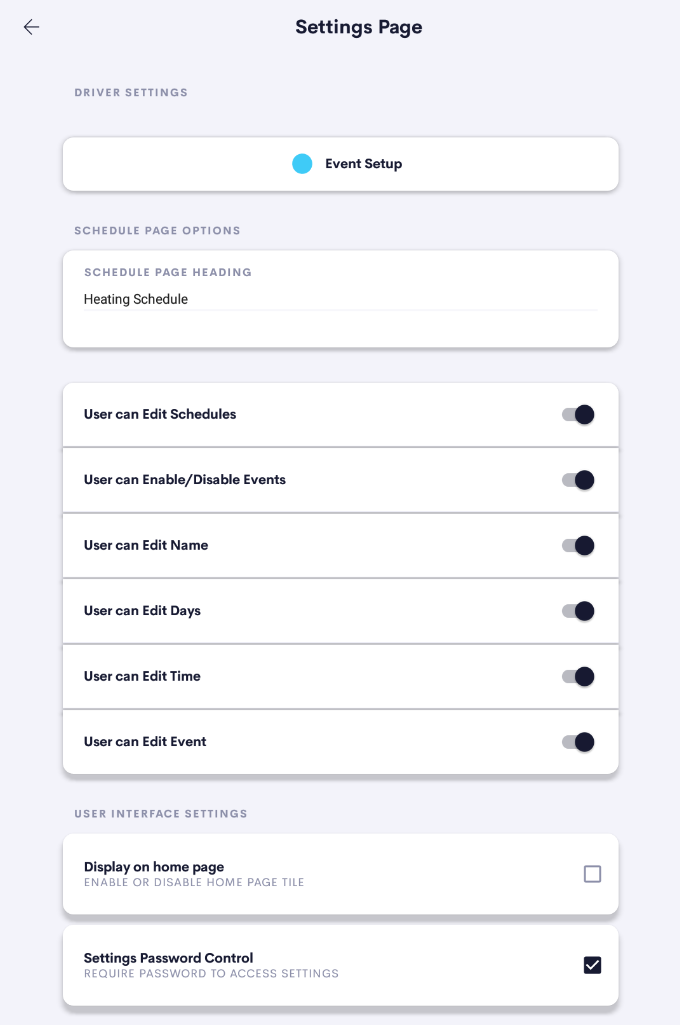
Schedule Page Heading
Set the heading that is displayed to end user on main scheduler pages
Schedule Main Page Options:
User Can Edit Schedules Option – turn off to block the end user from modifying any of the schedules
User Can Enable/Disable Events – turn off to block the end user from changing the global event enable/disable function
Schedule Edit Page Options:
User Can Edit Name – Turn off to block the end user from changing the schedule names
User Can Edit Days – Turn off to block the end user from changing which days the schedules will run
User Can Edit Time – Turn off to block the end user from changing what time the schedules will run
User Can Edit Event – Turn off to block the end user from changing which event the schedules will trigger
Settings , Actions and Events
| Setting Name | Description | Type | Notes |
|---|---|---|---|
| Event Setup | Navigation to event Setup | Event List | Allows you to chage names of Events and set an icon. |
| User can Edit Schedules | If checked the user can edit the schedule. | Checkbox | |
| User can Enable/Disable Events | If checked the user can enable and disable the scheduled events from firing. | Checkbox | NB: This does not disable the schedule just stops the events from firing. |
| User can edit Name | If Checked the user is allowed to edit the schedule name. | Checkbox | |
| User can Edit Days | If Checked the user is allowed to edit on which days the schedule should apply. | Checkbox | |
| User can edit Time | If Checked the user is allowed to edit the time that the schedule should occur. | Checkbox | |
| User can edit Event | If Checked the user is allowed to change which event should be fired when the schedule occurs. | Checkbox |
| Action | Description | Parameter | Value | Notes |
|---|---|---|---|---|
| Enable All Events | Turns all events on. Schedules will occure as per the settings of the scheduler and log entries will appear. | |||
| Disable All Events | Turns all events off. No log entries will be made and no events fired. | |||
| Enable Schedule | Enables the Selected Schedule | Schedule Number | 1 - Max number of schedules (dependant on driver product) | |
| Manual Recall Event | Triggers the Schedule and adds an entry to the log and fires the associated event if events are enabled. | Schedule Number | 1 - Max number of schedules (dependant on driver product) |
| Event | Description | Notes |
|---|---|---|
| EVENT [X] | This event fires whenever the button is set to the off state from the user interface or the Button Set To State action | The name of this event is updated dynamically when set in the user interface. X is the number of the event from 1 - 10 |
| Room Tile Pressed | This event fires whenever the room tile is pressed on the user interface | This event always fires even is the Ignore Button Presses is setting is enabled |
