
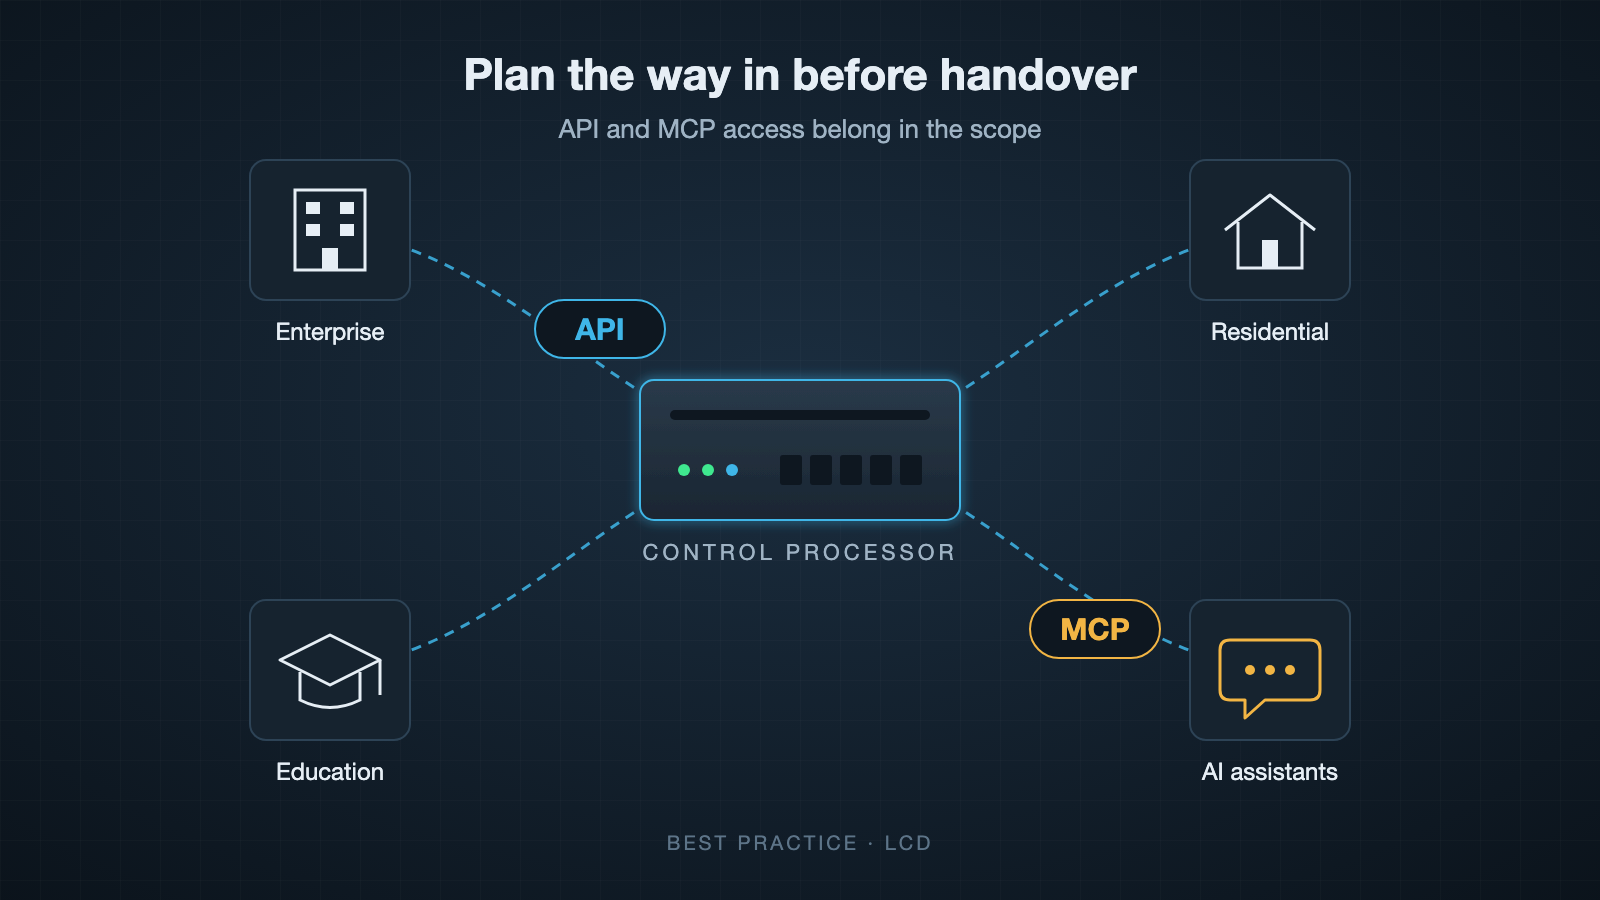
Is API and MCP access in your Crestron scope?

Best Practice series, part 1.

Eighteen months after handover, the client wants something new connected to the control system. In an office it might be the room booking system. In a university it might be the timetabling system, and in a home it might be the alarm or a new voice assistant. The control system already knows most of what they need, and the programming works. Then the quote comes back, and a good part of it is reprogramming.

This happens because most custom Crestron programs are written with one way in. The touch panels and keypads talk to the processor, and nothing else was planned for. When a new system needs to read room status or send a command, the programmer has to go back into the code, work out what to expose, decide how the other system should connect, test it and recommission. That is billable time, and it repeats with every new system that comes along.

What API access means here

An API is a documented way for other software to talk to the control system. On a Crestron installation that could mean asking which rooms are occupied, setting a scene, reading a temperature or receiving an event when something changes. The important word is documented. Another developer, possibly years later and possibly from a different company, should be able to use it without reading the original program.

Plenty of programmers do this well when asked. The trouble is that it often isn’t asked for, so it isn’t priced, and a programmer working to a fixed quote has no reason to add it.

Why MCP is the next question

MCP, the Model Context Protocol, is an open standard that lets AI assistants and agents use outside systems through a defined set of tools. It has quickly become the usual way to connect the main AI assistants to business software. In an office or on a campus, that could be an assistant that books a meeting room and has it set up before people arrive. At home, it could be asking an assistant in plain language to set the house up for the evening.

MCP doesn’t replace an API. It sits on top of one. If the control system already has a good API, adding MCP is a small piece of work. If it doesn’t, the API has to be built first and you are back to reprogramming. Your clients may not be asking for AI access to their systems yet, but on a system expected to run for ten years or more it is sensible to assume they will.

The cost of adding it later

At the scoping stage, an API is a design decision. The programmer structures the code knowing other systems will connect, and the extra cost is usually modest. After handover it becomes a retrofit. Someone has to understand code they may not have written, find the signals worth exposing, add a way in and make sure nothing that already works has broken. If the original programmer has moved on, the new one starts by learning the old program, and you pay for that as well.

There is also a dependence problem. If the only person who can connect a new system is the person who wrote the code, every future change goes through them, at their price and when they are available.

The security side

An API added in a hurry is often a TCP port opened on the processor that accepts commands from anything on the network, with no authentication and no record of who sent what. It works, and it is exactly the kind of thing that turns up later in a security review. An API planned from the start can have authentication and logging designed in, and someone is clearly responsible for it.

Questions to put in your scope

If you write scopes or tenders for Crestron work, these are worth including:

  • Will the system have an API that other software can use, and what will it cover?
  • Will the API be documented, and will that documentation be handed over with the project?
  • How will other systems authenticate, and can their access be limited or revoked?
  • Who owns the code and the API documentation at handover?
  • Is MCP access included, or at least planned so it can be added without reprogramming?

A programmer who raises these before you do is thinking about how the system will be used after they leave site. If yours hasn’t, ask them, and ask for the answers in writing.

I’m Neil Silver at LCD. We have been writing secure APIs into audio visual scopes and projects for over 10 years, and I’m happy to talk through a scope if it would help.

Make your 2N a real Crestron Home lock โ€” with PIN users and a log of who came through

You can already open a 2N’s door from Crestron by pulsing a relay. But a pulsed relay isn’t a lock. It has no state you can trust, no users, no schedule, and no answer to the question every client eventually asks: who opened the door, and when?

The 2N Native Lock driver closes that gap. It drives the 2N’s strike through a switch output and reports live state back from the device, so the door appears in Crestron Home as a native lock โ€” a standard lock tile with proper Locked/Unlocked state, events, PIN users and schedules. Not a relay dressed up as a lock. A lock.

A native lock, not a workaround

Because it’s built on the Crestron Home entity model, the door behaves like any other Crestron lock. It shows the real state on the tile โ€” read from the 2N’s event log, not guessed โ€” so if someone opens the door on the keypad, Crestron knows. Lock and unlock are exposed to scenes, schedules and quick actions the same way every native lock is.

Lock commands are always sent to the device, even when the tile already shows the target state, so a stale reading can never leave a door in the wrong state.

Who and when

This is the part clients remember. PIN users are managed in Crestron Home’s own lock settings, and when someone enters their code the driver reports “Unlocked from keypad,” attributed to the matching user. The commissioning app keeps a live access log โ€” newest first, each entry tied to a person โ€” which is exactly the who and when a plain lock tile never shows.

Schedules are enforced as a rolling validity window, which makes them fail-secure: if the processor goes offline, access expires rather than staying open. A caretaker’s 8-to-6 stays 8-to-6 even if the network drops.

[Screenshot to add: the commissioning app’s attributed access log]

An app that signs the job off

The driver includes an installer-facing commissioning app, served from the processor โ€” no internet or extra software. On site it lets you:

  • Test the strike โ€” fire Test unlock and Test lock from your browser and watch the door physically release, without walking back and forth.
  • Prove the connection โ€” a troubleshooter runs a sequence of checks against the 2N (network, HTTP API, credentials, services, the strike switch) and tells you how to fix anything that fails.
  • Validate a user before you leave โ€” the emulator runs the driver’s real access rules for a chosen user, method and time, so you can confirm a new PIN or a schedule window without waiting for it.

It plays well with the intercom driver

The Native Lock driver and the 2N Doorstation driver run on the same site. Use the Native Lock for the front door you want managed as a lock, and the Doorstation driver for raw switches, inputs and SIP calls elsewhere on the same unit.

Spec it for the door that matters

For a front door, a gate, or a plant-room the client wants controlled and audited, this turns a 2N you may already be fitting into a managed access point โ€” with users, schedules and an attributed log โ€” and no separate access-control system to buy or wire.

The 2N Native Lock driver is a licensed product โ€” a 30-day trial and full licences are on its product page. Compatibility, user management and the commissioning app are covered in the 2N Native Lock driver pages on lcd.network.

Hero image: Photo by Danielle Rice on Unsplash.

Your 2N intercom, finally programmable in Crestron Home

A 2N intercom is doing a lot of work at the front gate. It has relays for the strike and the gate motor, digital inputs watching the door contact and the request-to-exit button, a camera, a call button, and a SIP stack that can ring a phone anywhere. On most jobs Crestron Home sees almost none of it โ€” the intercom rings a handset, opens a door, and stays a closed box beside the drive.

The 2N Doorstation driver opens that box. It exposes the 2N as a programmable control surface in Crestron Home: every switch, every input, the relay and output, and SIP call control โ€” each one a tile control, a programming action you can call, and a programming event you can react to.

Everything the 2N can do, in programming

Add the driver and the intercom’s hardware turns into named pieces you can wire up:

  • Switches 1โ€“4 โ€” energise or de-energise each 2N switch to release a strike, trigger the gate, or drive a relay, from a scene, a schedule, or the tile.
  • Digital inputs 1โ€“4 โ€” the live open/closed state of a door contact or exit button, on the tile and as input opened / input closed events.
  • Relay and output โ€” state changes surfaced to programming.
  • SIP call control โ€” call the Crestron touch panels (or a custom SIP target) and hang up, when the 2N has a registered SIP account.

So the gate strike becomes a Crestron action, the door contact becomes a Crestron event, and the intercom can ring the panels in the house โ€” all inside the programming you already build.

Events fire however the door was opened

The driver doesn’t just watch its own commands. It monitors the 2N’s event log, so a switch, input, relay or output event fires whether the change came from a Crestron scene, from the tile, or directly on the 2N โ€” a keypad code, a request-to-exit button, a fob. There are also events for motion, noise and a call-button press.

That is the difference between “I know when Crestron opened the door” and “I know when the door opened.” Bind your notification, your log, or your welcome scene to the event and you catch every case, not just the ones your own automation caused.

[Screenshot to add: the 2N Doorstation tile โ€” Switches / Inputs / Call Control]

A setup app that proves the wiring

The driver ships a browser-based Diagnostics & Setup app, served from the processor. It shows the live connection, streams the device event log, runs a connection troubleshooter that checks the network, the HTTP API and the credentials in order, and lets you fire test actions โ€” pop a switch, place a call โ€” from your laptop without walking back to the gate. Commission it once, prove it, sign it off.

The upgrade is painless

This is the current, web-configured version of the long-standing 2N Basic Http driver, rebuilt on the Crestron Home entity model. It keeps the same product SKU (CHTWONHW), so an existing licence key still works โ€” there is no repurchase. Device actions are gated until the driver is licensed; feedback and the diagnostics app run regardless.

It also sits happily alongside the 2N Native Lock driver on the same site: use the Native Lock when you want the door to appear as a standard Crestron Home lock with PIN users, and the Doorstation driver for raw switches, inputs and call control.

Spec it because it needs no new hardware

The intercom is already on the wall and already on the network. The driver turns hardware the customer has already paid for into a first-class part of the Crestron system โ€” no rack module, no bridge box, no cloud account.

The 2N Doorstation driver is a licensed product โ€” a 30-day trial and full licences are on its product page. Compatibility, the full control/event list and the setup app are documented in the 2N Doorstation driver pages on lcd.network.

Hero image: Photo by Gabriel Ramos on Unsplash.

What’s new in Sonos Chime V2

Sonos Chime for Crestron has been rebuilt from the ground up. V2 is a new driver on the Crestron Home entity model, and it changes how you set chimes up, what you can play, and how much the driver tells you when something goes wrong. Here is what is new.

A new driver, on the entity model

V2 replaces the previous Sonos Chime driver. It loads as a Crestron Home extension device โ€” an Audio Processor โ€” and everything below follows from that rebuild. In the driver list it appears as SONOS Chime V2, alongside the one it replaces.

The Crestron Home driver list showing SONOS Chime and the new SONOS Chime V2.
Crestron Home lists the new SONOS Chime V2 alongside the driver it replaces.

Set up chimes in a browser

The biggest day-to-day change: chimes are configured in an app served from the processor, not in the driver’s settings pages. Search the catalogue instead of scrolling filenames, listen to any chime in your browser โ€” instantly โ€” and play it on a real speaker to hear where it lands before you commit. Speakers that can’t play chimes are greyed out with the reason, so you are never guessing why one is not working or not supported.

The Sonos Chime browser setup app: pick a chime, audition it, choose the speakers, set volume and repeat.
The browser setup app: search the catalogue, audition a chime, and choose its speakers.

Bring your own sound โ€” included

The catalogue is no longer limited to the native crestron home chimes.

  • Upload two chimes of your own โ€” any MP3 up to ten seconds.
  • Have the speakers say something. Type up to 100 characters, pick a voice, and that is the chime.
  • Or point a chime at your own https:// URL, if you would rather host the file yourself.

Text-to-speech used to be a separate subscription. In V2 it is included with the licence. An announcement is recorded once when you save it, so it plays instantly.

The Sonos Chime setup app: upload your own chimes, and have the speakers say something.
Upload two chimes of your own, or have the speakers say something โ€” included with the licence.

Volume Controls

V1 played everything at one level. V2 gives each chime its own volume, with a house default it falls back to. A doorbell that is polite at 40 no longer drags your intruder alert down with it. The ChimeLevel command still sets the house default โ€” but a chime you have pinned to its own volume ignores it, so an alarm set to 95 stays at 95 even if ChimeLevel is wired to a night-mode scene.

Upgrading from the previous driver

One thing to plan for: this is not an in-place upgrade. A site on the old driver has to be commissioned again โ€” re-enter the licence key, reconnect the Sonos account, and rebuild the chimes in the new setup app. Your existing licence key still works: V2 keeps the same product SKU. Speech announcements have to be re-typed, but nothing else is lost โ€” and they are now included rather than billed separately.


Ready to try V2? Start a 30-day trial at SONOS Chimes, and follow the full setup in the installation guide on our documentation site.

Select currency
USD United States (US) dollar